
But, once you've gotten comfortable with how to achieve proper exposure manually, what's the next step toward seeing and using light? That's what I'd like to discuss here with a simple little exercise which demonstrates how light, and your camera's and your subject's relationship to it, can effect your image. So, one of the most important things we can learn about light is what direction it’s coming from. The position of your light source in relation to your subject will have a great deal to do with how your pictures turn out. The direction of light controls which parts of your subject are lit and which are in shadow. It is important to note the shadows because photos are two dimensional and shadows provide depth and contour to objects. They can reveal texture, which can create interest, or possibly be unflattering.
To create shadows, the light needs to be at an angle to both the camera and your subject. So using some degree of side lighting will accentuate form. The range of differing angles of light are generally simplified into three main types: front lighting, back lighting and side lighting. The way that shadows fall throughout your image can give you information about a picture that flat, front lighting can't reveal. Shooting with the light to the side of or behind your subject can create an image where shadows become part of the picture. Side light and back light usually produce high-contrast images with very bright areas, and very dark ones. In each of the images below I kept my camera settings exactly the same and they were all taken within a matter of moments. The only thing I changed was my position in relation to my subject and the light.


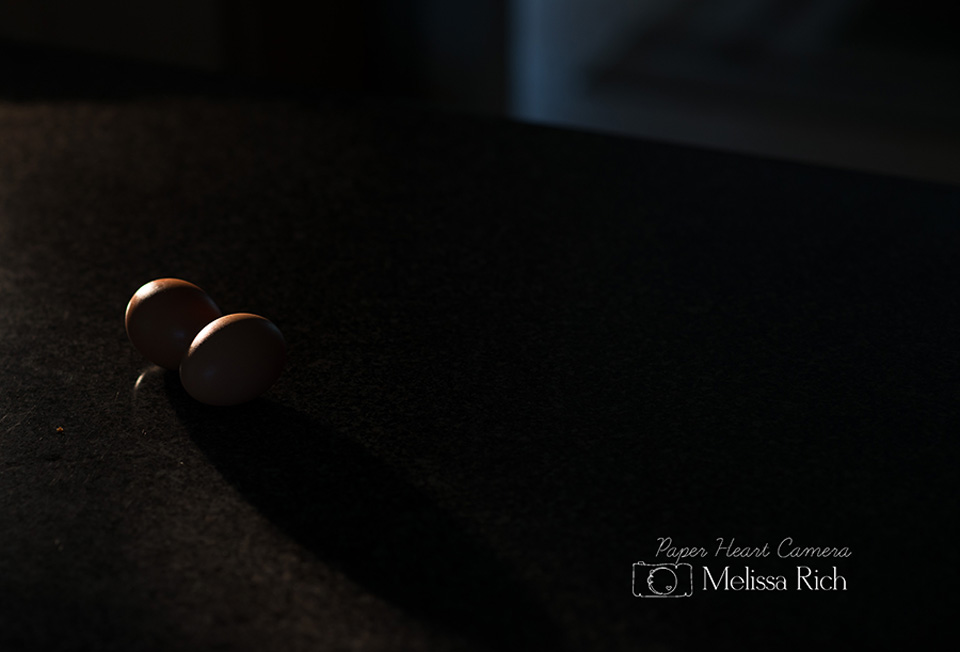


You can see how the texture, shape, and color change from image to image and how that effects the mood of each photo. These images show how dramatically different your image can be by simply changing the angle and direction from which you shoot. (All images are SOOC except for resizing for the web).
This simple exercise can help you learn more about light. Give it a try like I did by simply walking around your subject and shooting from different angles. It will help you become more aware of how light effects your subject. By learning to use light to convey depth, form, texture and mood your images will become stronger.


Can you come visit me in Atlanta and teach me some tricks? I bought my first "fancy" camera last year and I'm still trying to learn how to use it as more than a point-and-shoot. I really want to be able to do a great job taking photos of the items for my website but I get overwhelmed by it. I have so much to learn! Thanks for sharing with #throwbackthursdaylinkup
Post a Comment